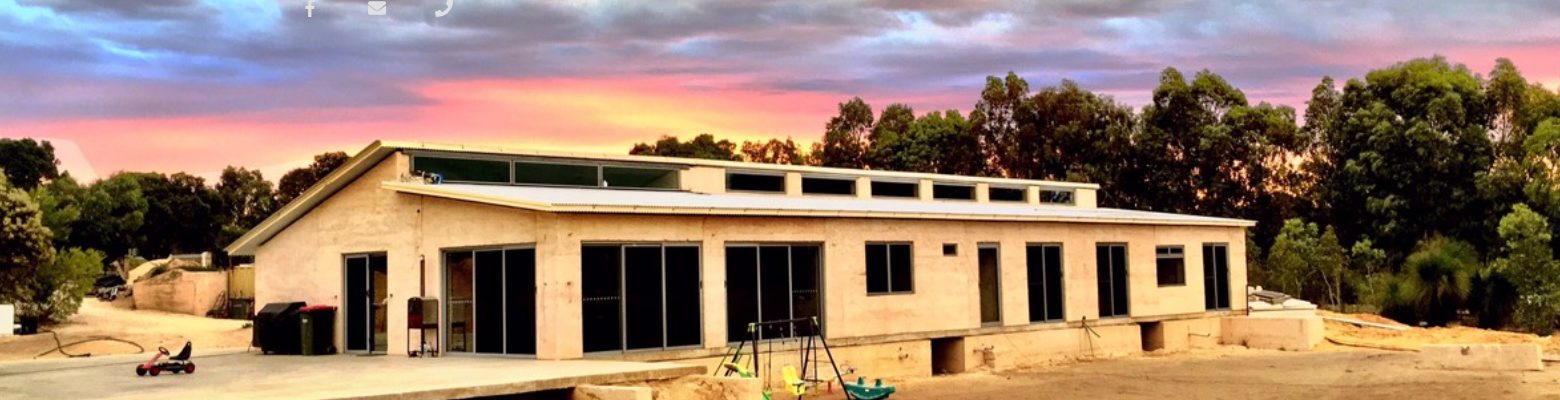

Today we battled the rain to finish the base for the composting toilets. While we never planned to have a base under the toilets, a series of ‘coincidences’ led to a rather remarkable outcome…
We have opted to use composting toilets in the building we are working on. They use no water, the by products are safer and better for the ground and the set up cost is exponentially lower than septics / sewerage.
The problem for composting toilets often comes due to lack of planning. The cost effective units need a space under the slab to sit under where the toilet seat will be. Once A house is finished, this is virtually impossible to do later on. From the start, we had instructed our engineer (Bill Smalley) to design the cooking and retaining wall for the house with two sections cut out for the composting toilets.
The top view of the pad and a side section is included below.
Aerial view of the slab location and retaining wall with the two cut outs:


Side view of the toilet cutout
Originally, the cut outs were just big enough for the main composting toilet we sell and have used before (Classic 1000). This composting toilet can handle a large family like ours, and performs extremely well.

Composting Toilets Nature loo Classic 1000 Waterless …

So, before we start on the job, a few ‘co-incidences’ to note:
Coincidence 1)
As we were building the retaining wall around the toilet cut outs, we decided to make these cutouts larger to make it easier to build. We decided to just use the length of the formwork and it reduced the building time by about half for theses sections. We didn’t know at the time, but these elongated cutouts have enabled the house to be able to have two toilets side-by-side over one cutout (or a waterless urinal in one cubicle and a full toilet in the other). This section has also been designed around the guidelines for a disabled toilet should we decide to try and register the building for commercial use later on but that’s a whole other story! The second cut out now has enough space for a different style of composting toilet, should we decide to use / showcase that one too…couldn’t have planned it better!
Coincidence 2)
We had (so we thought) worked out how to do some form work above the cutout to prepare for laying the slab. The day that we were going to start putting this up however, it was raining. So instead we started levelling the house pad by pulling around some form work and pretending to be ox (or is that ox’s or oxen? – grammer police!). As we did this, some sand fell into the cut outs. We decided that we should clean it out now, because after the slab down, it would be much harder to get the sand out. As we began digging out the sand, it became clear that a concrete surface at the bottom would be very beneficial.
Coicidence 3)
As with many parts of the project, we try to err on the side of safety (hard to believe for some I know – but it is generally true;). So instead of just putting 5 cm of concrete down, we decided that it would be good to put some mesh and black plastic in. Although we sell steel mesh (rebar and the like) we didn’t want to waste the mesh we had purchased for the house pad just to go under the toilets! But then we remembered we had a couple of spare bits. Over a year ago, we were driving through Mullulloo at their bulk rubbish time. There was three pieces of wire mesh on someone’s verge with some large soak wells. So we stopped and put them on the roof. But would they fit?
It turns out that these pieces were nearly exactly the right size! From one of them we had to trim 10 cm along one edge – but otherwise they were to the millimetre perfect!
Coincidence 4)
As we sell most building products that we will use, we know some of the products that help and have stock of quite a lot of them. But again, for a job like this we didn’t want to split a bag of 100 new chairs, for these two small pieces of concrete. Hang on–don’t we have some old ones? About two years ago, purchased some form work and air rammer off someone – they gave us an extremely good deal but just as we left the called out and said” could you use these chairs”? They would not a standard size, and I didn’t need them at that point but said “probably one day”. Well that day has arrived!
We regularly see coincidences like this – some would call it luck, others coincidence but we prefer to acknowledge the Creator who provides for us continually. Besides, we also have regular occurrences that can not fall into the luck or co-incidence category…very specific things that God speaks to us, then we follow and we see He was right. It is a freeing reality to live in, where the Master is in control and we can trust Him with everything!
The job itself:
First off, we dug out the base, compacted it and levelled it off.

Today we put the black plastic down, put themesh in on the chairs…

And started to mix the cement. We used the left over blue metal, ½ bucket of clean yellow sand (from our pit), ¾ bucket of limestone crush (19mm) and 7 bags of grey cement.


Once mixed, we shovelled into the bases,

Vibrated the concrete to get the air out, used a piece of scrap ‘C-Channel’ as a screed, and kept checking the level.


Covered to keep the rain off,


Then bull-floated it to give a better finish.

The left over mix was added to our caravan entrance then clean up & time for lunch… Great ½ day’s work!

We will add photos of the finished base and entrance to the photo stream in the next few days.
The total job has cost us very little all up:
We had the items on hand that we sell and will need later (black plastic, cement powder), we had the tools from previous jobs and had left over materials which were in effect free (chairs, mesh, bluemetal, limestone crush).
Fantastic!